Identify or create a folder you would like to use to store your Start9 server’s backups.
Tip
You can select an external drive or folder within an external drive connected to your Mac if you’d like.
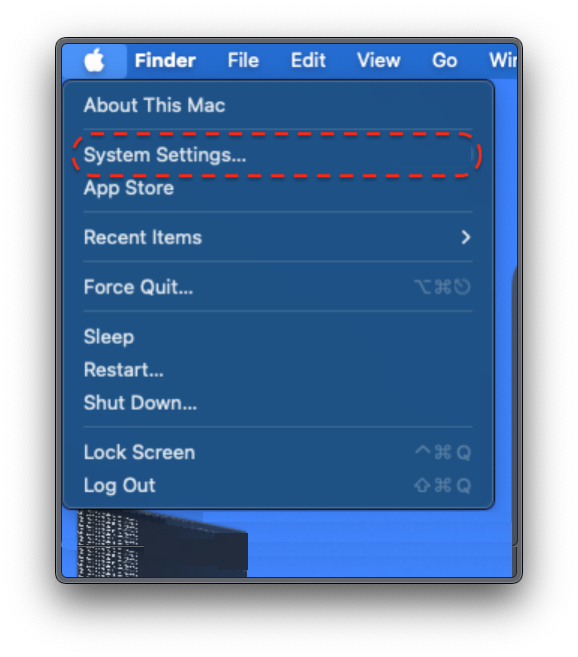
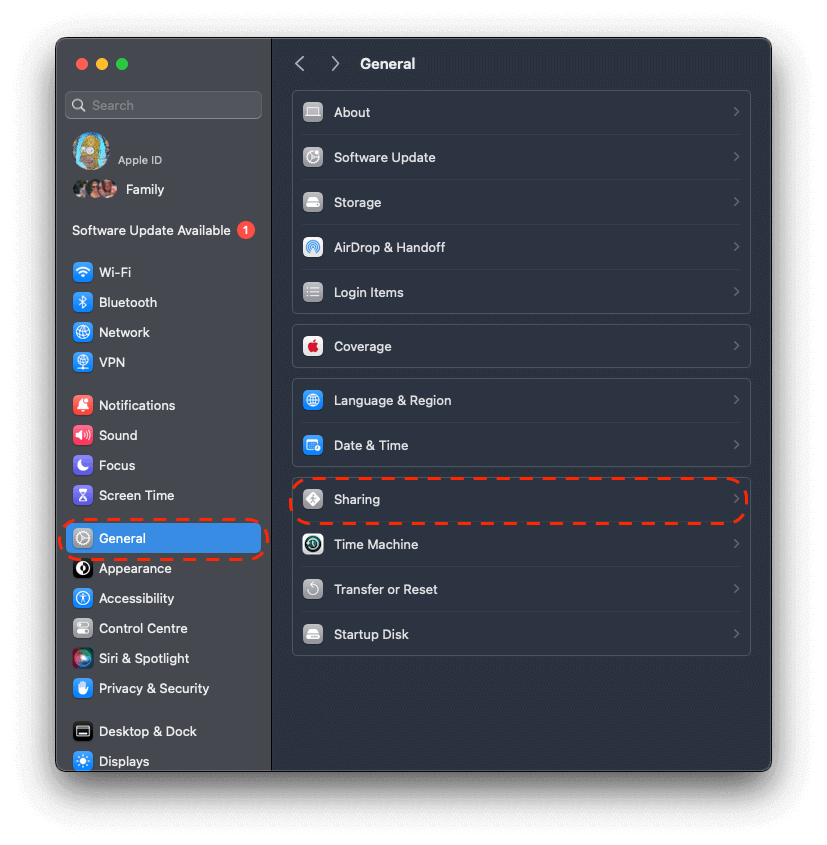
Go to System Settings:
Click on General then Sharing:
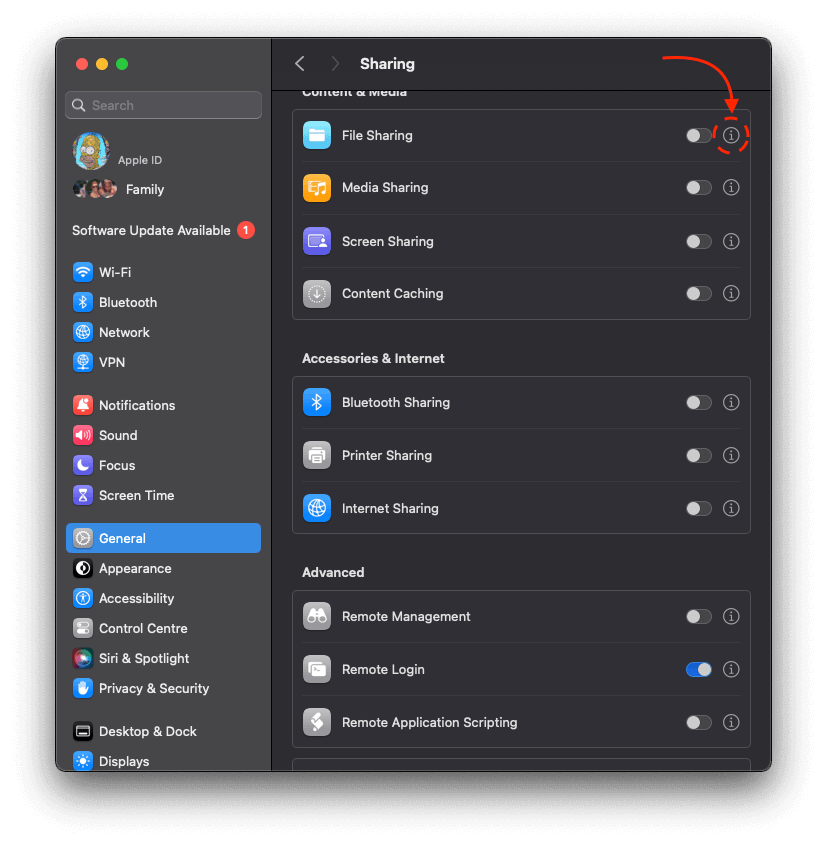
Click the info icon:
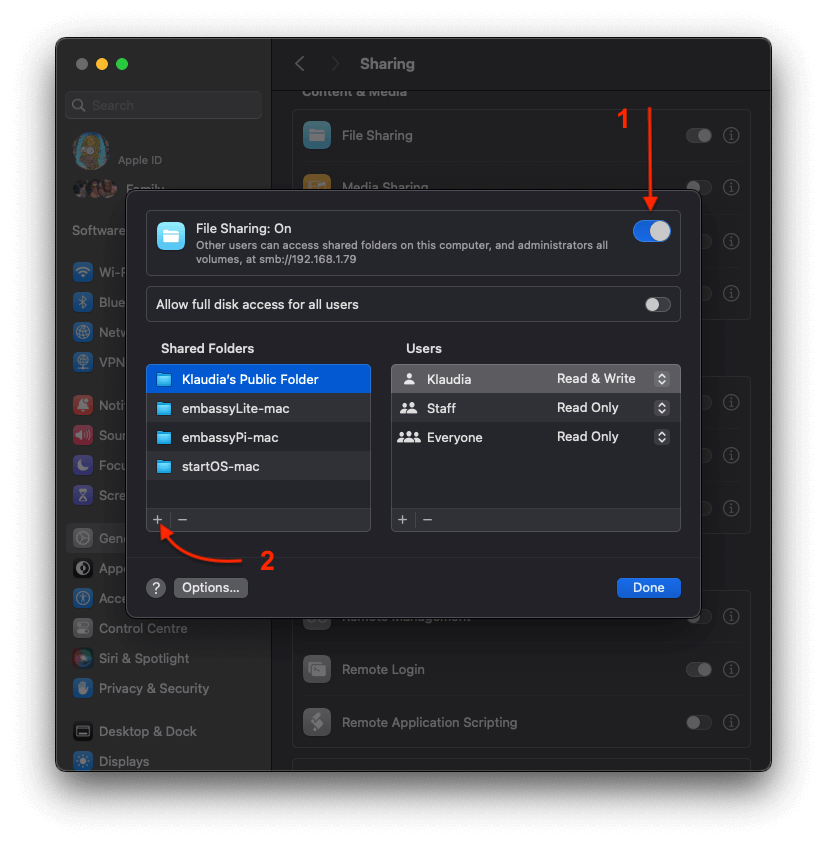
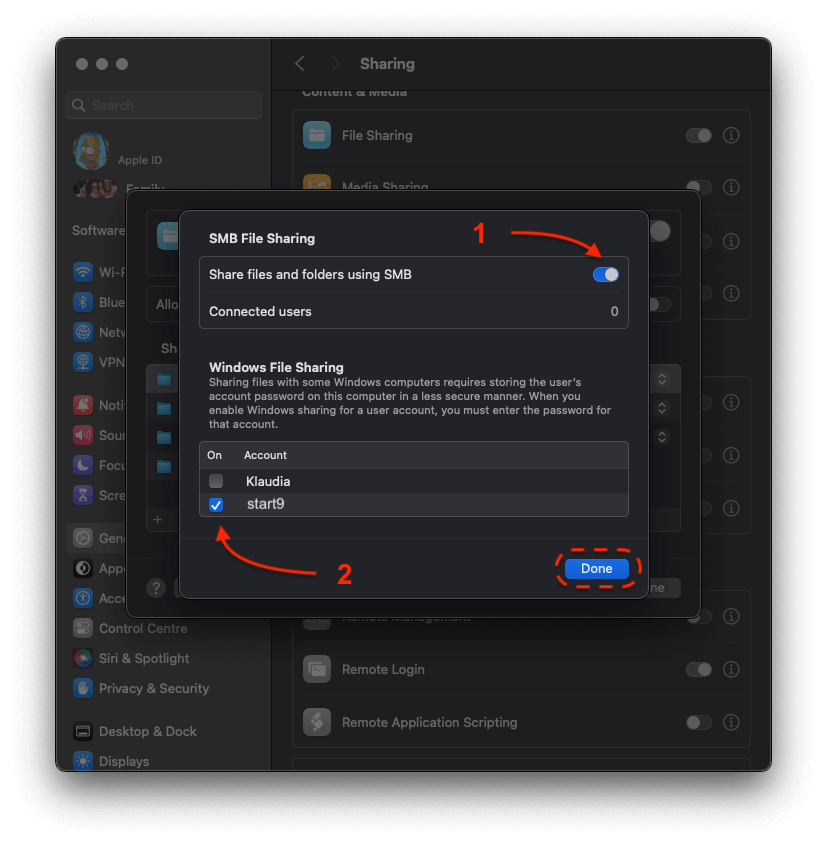
Click the toggle to enable file sharing and the “+” icon and select the folder you would like to make backups to:
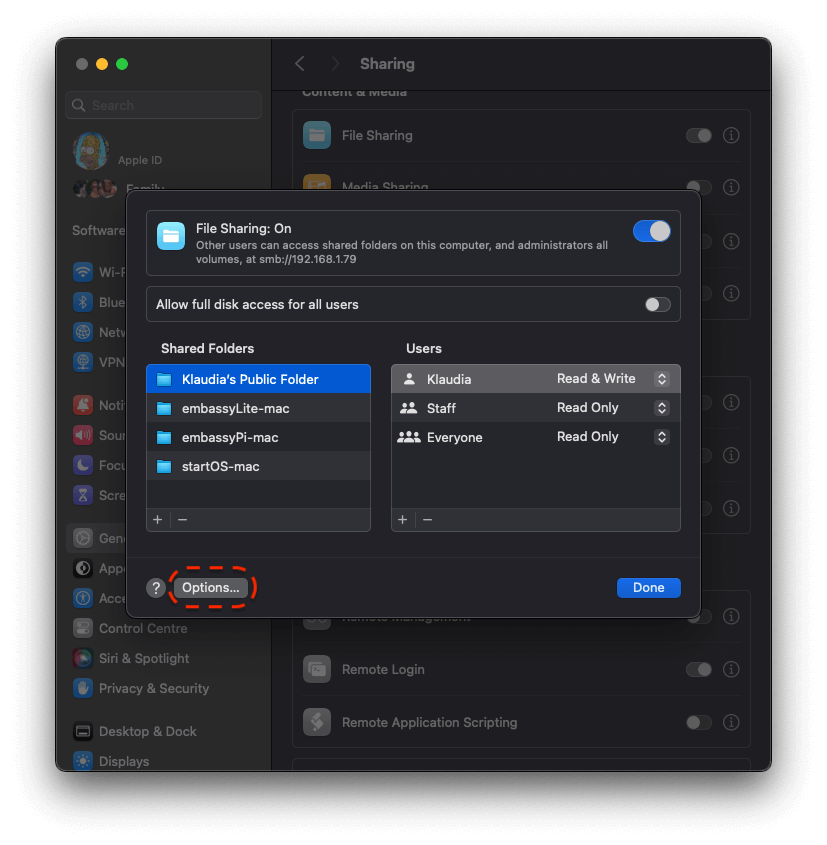
Once added, click Options:
Select the user. This is the user on your Mac with whom your StartOS server will create and store backups. In this example, we created a new user called start9 via Users & Groups > Add User… within System Settings, but you can select any user you wish. Then, click Done.
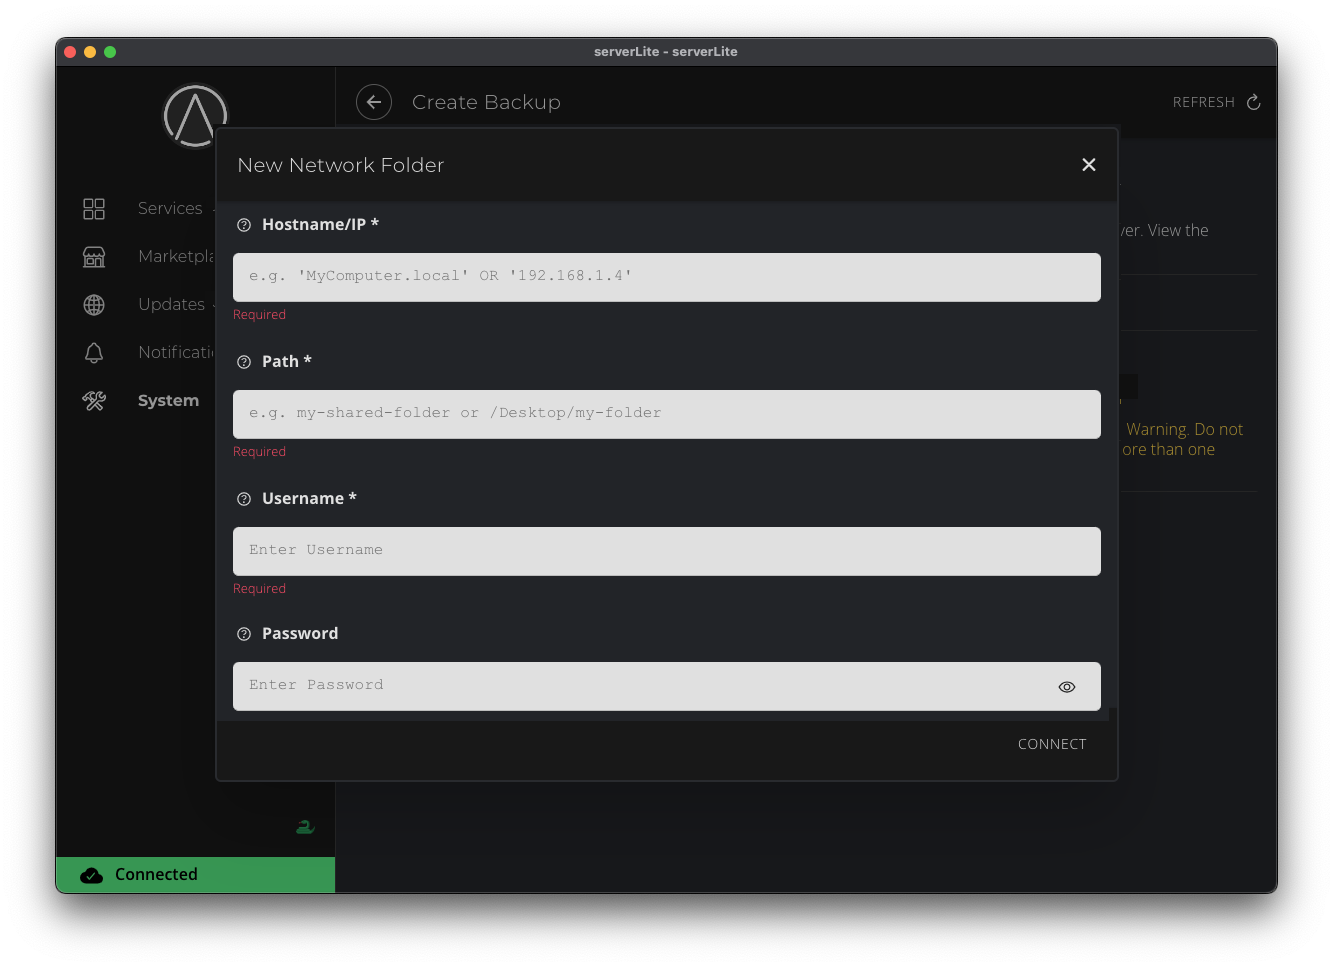
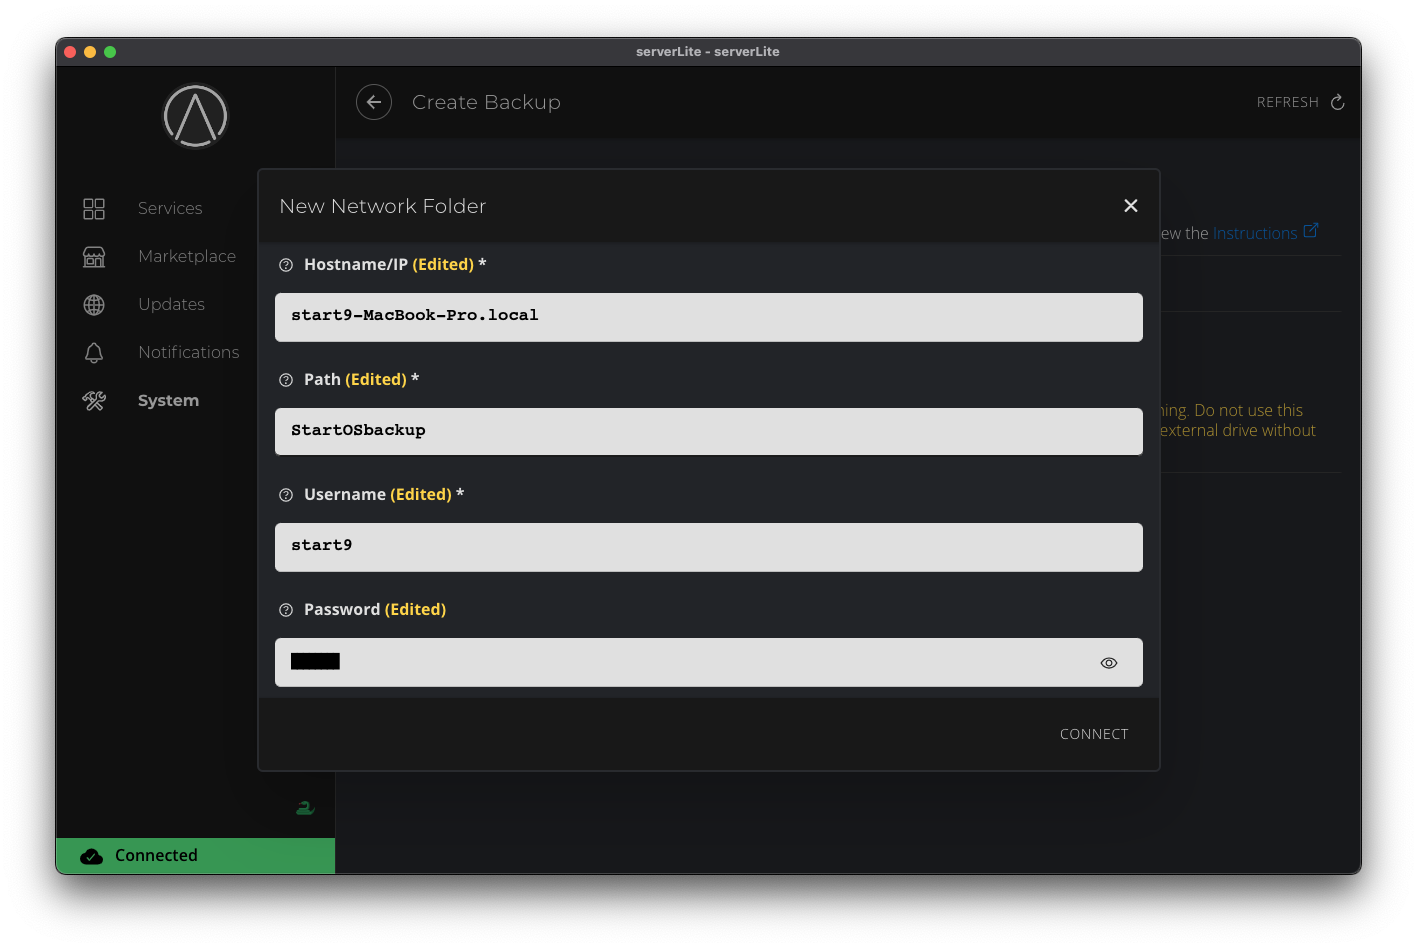
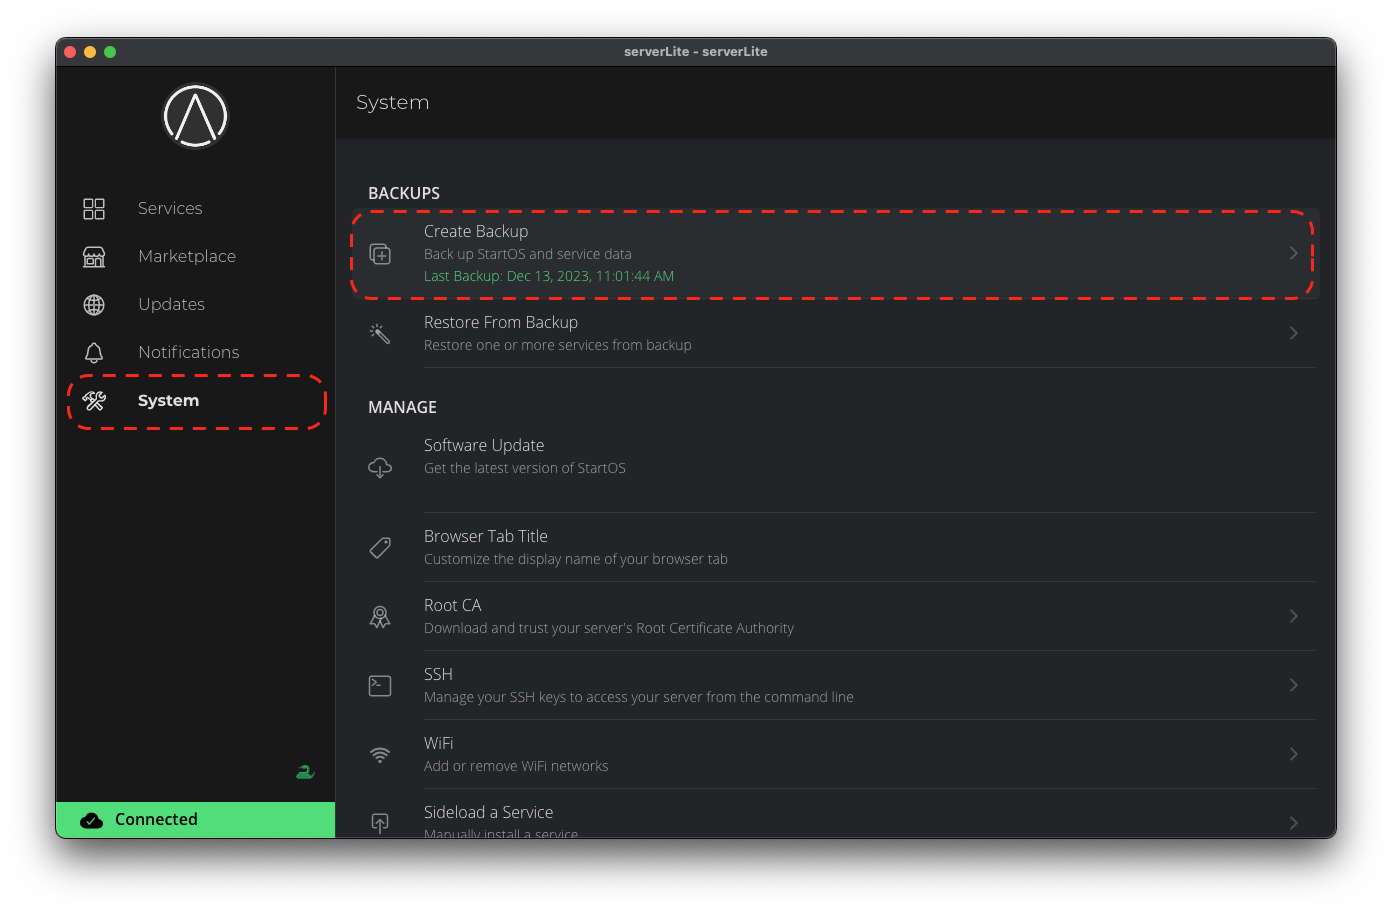
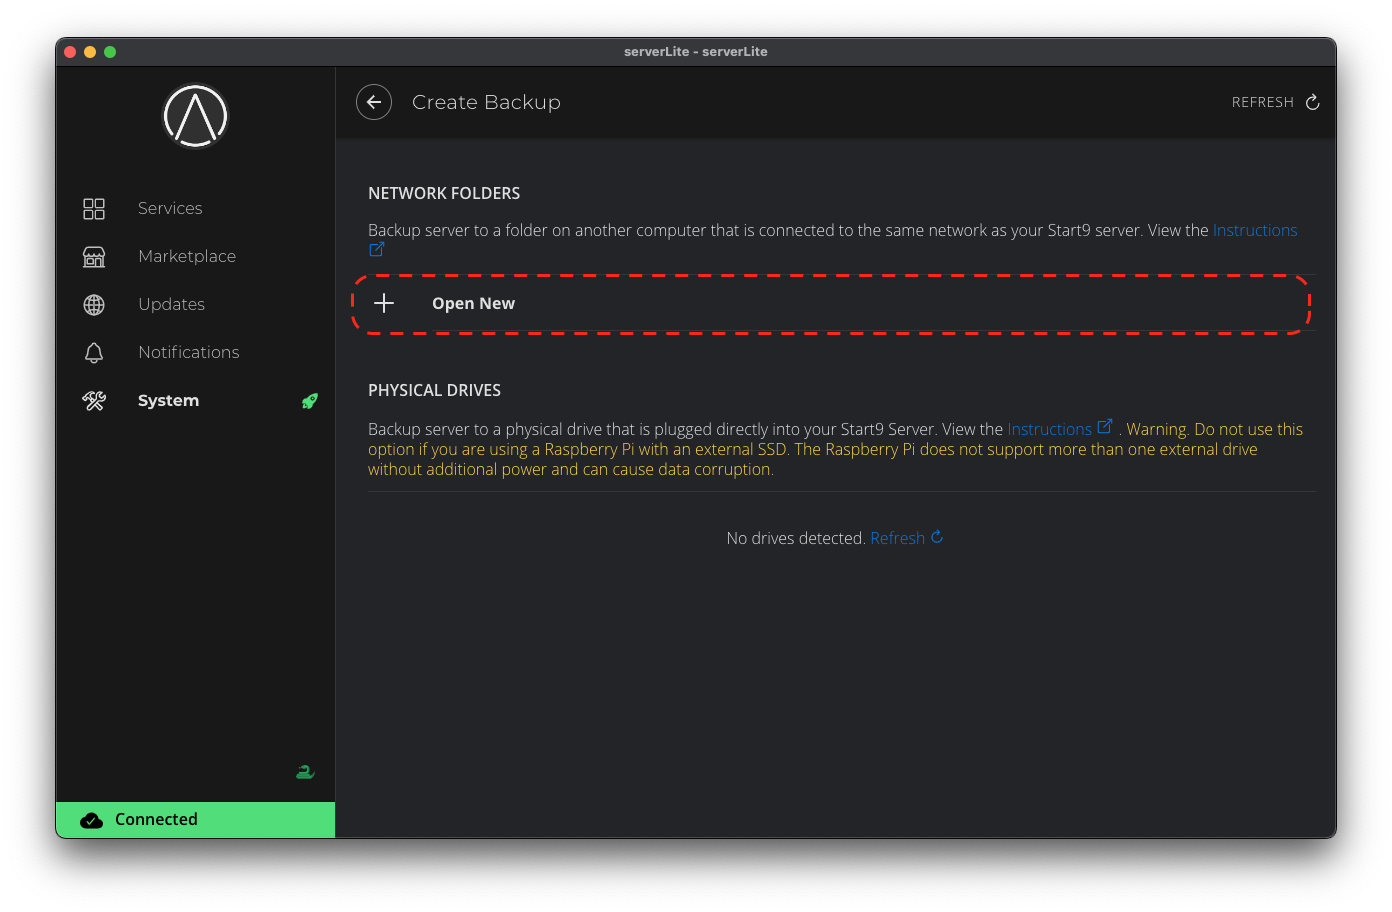
You can now move on to connecting your server.
Tip
You can find the hostname at the top of sharing window. The hostname will be an address beginning with smb://. To use as hostname disregard the smb:// and simply enter the ip address that follows it. You will need this in the next step. (alternatively you can use the computer hostname. (See directions below) Either method will work.
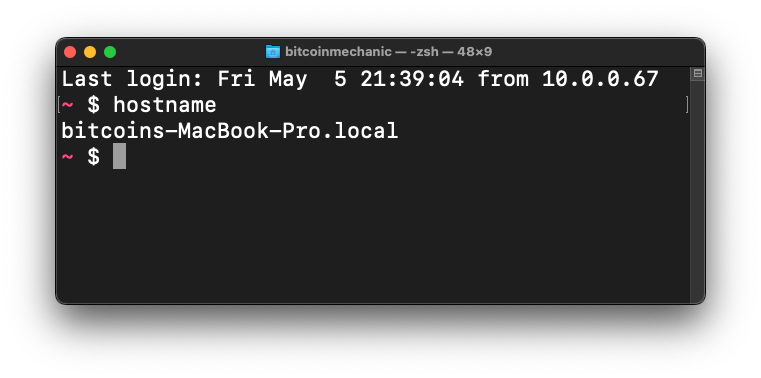
Sometimes it can be unclear what your Mac’s hostname is. Check the tip in Step 8 of the section above to find it. On some versions of Mac, you may need to open up Terminal and type hostname as below:
Path - This is the name of the shared folder you are using and not the full directory path.
Tip
If you copied the share name from the Mac computer and it contained a space, macOS will have replaced the space with the string “%20”. Please re-replace %20 with a space in this Path field.
Username - This is the user on the remote machine that you used to create the shared directory.
Password - This is the password to the above user.
Note
If you are on MacOS Catalina (version 10.15.7), and the backup fails, please see this Apple support thread. If the provided solution still doesn’t work, SMB file sharing probably will not work for this old Mac. Consider backing up to a USB thumb drive instead.
Note
If you recently updated to MacOS Ventura (version 13.2), and you cannot get the share to connect: